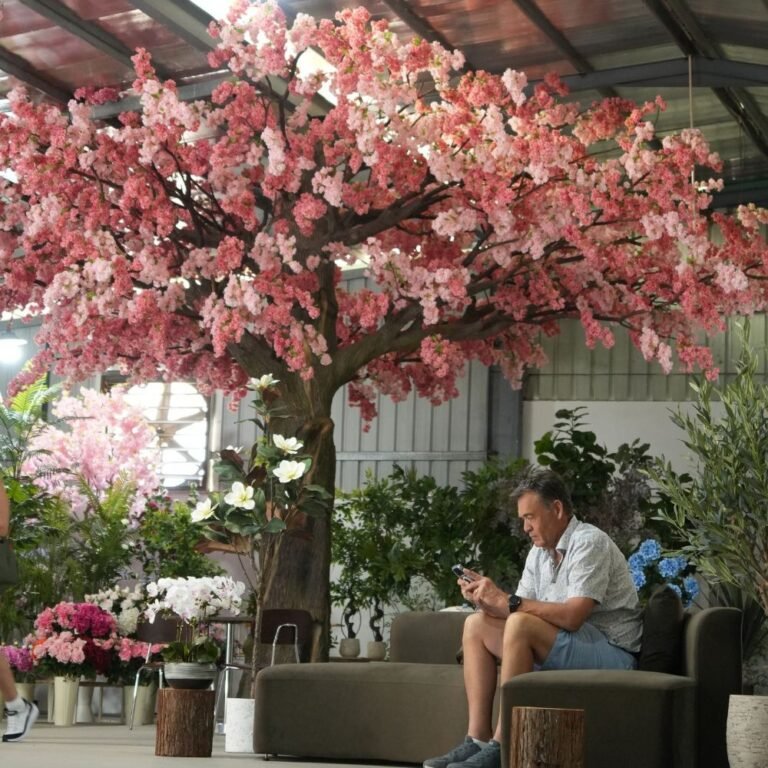
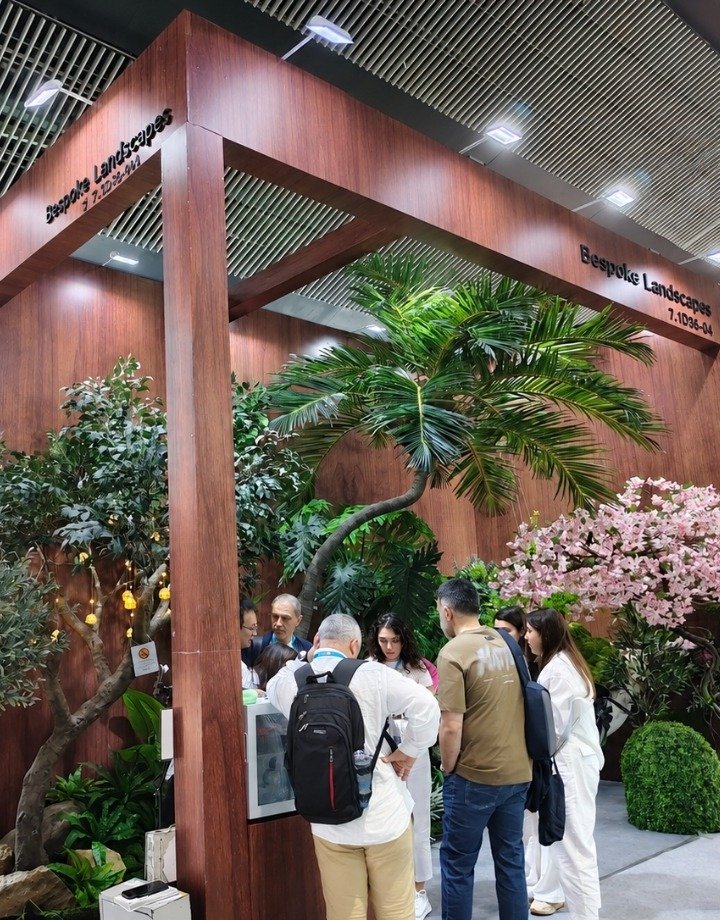
We often see attractive artificial plants lose their impact when placed together without a plan. In our showroom, we developed the layout, ground contours and planting as one design.
We built Oakco’s North America showroom zone by positioning feature trees, shaping planting areas, adding green ground cover and matching smaller plants by height, leaf shape and colour. Our aim was to show how individual products can work together in a commercial artificial landscape.
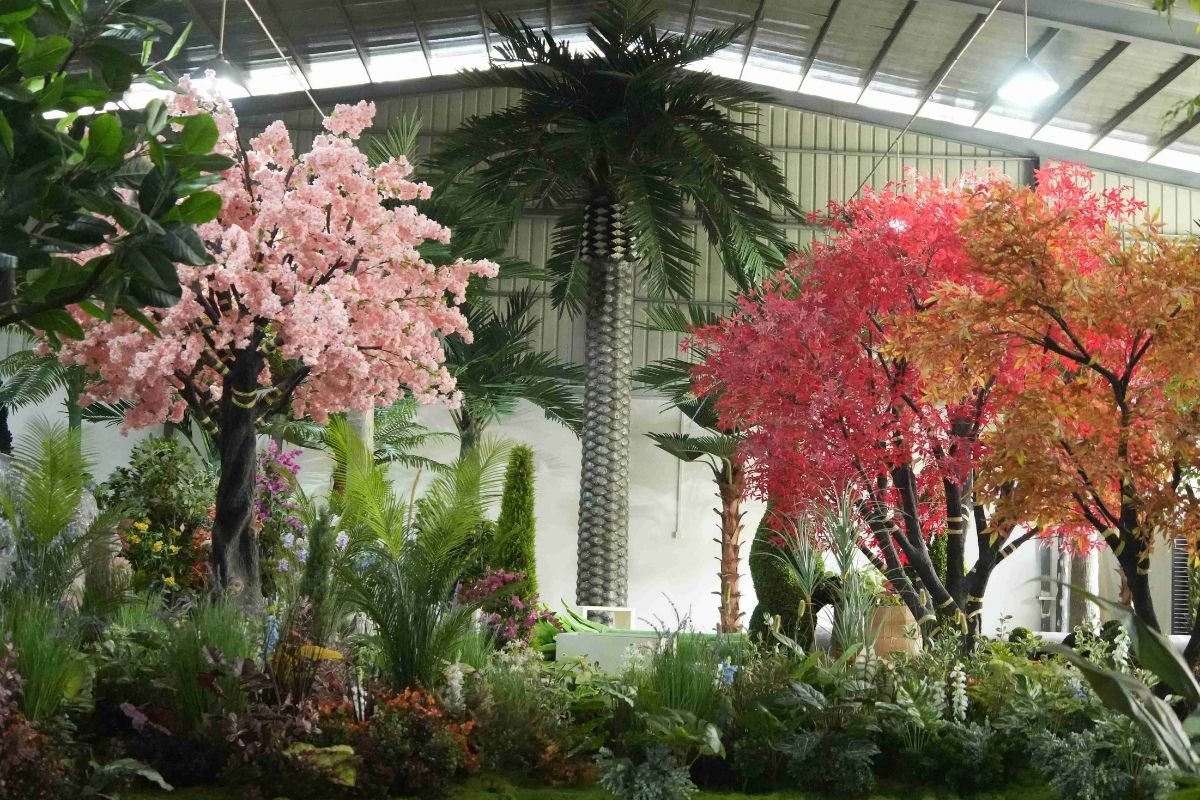
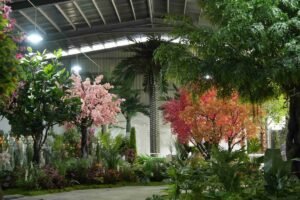
We created this area in our China showroom as a place to explore planting combinations for North American commercial projects. We brought together several visual directions, including broad green canopies, tropical planting, pink blossoms and warm autumn colours.
We use this display to discuss options with clients. A hotel lobby may need one large tree and a restrained planting bed. A themed venue may need a richer mix. We adapt the selection to the project rather than copy every plant from the showroom.
Here, we explain how we developed the scene and how we assess the role of each product.
Planning the Layout and Positioning the Main Trees
We cannot build a balanced landscape by choosing every tree separately. Without a shared layout, large canopies compete, colour becomes crowded and smaller plants lose their place.
We used large artificial trees to establish the main heights, canopy shapes and visual points within the display. We then reviewed the spaces between them so that the lower planting could connect the trees while leaving room to move through the area.
We give each large tree a clear role
We work with more than tree height when matching a product to a scene. We also review canopy width, trunk character, branch direction and the space beneath the foliage.
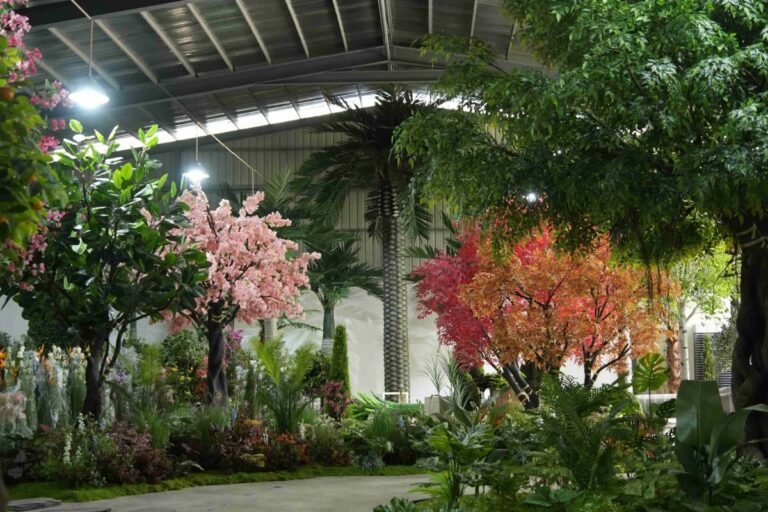
Our broad-canopy banyan trees create substantial green forms. Their crowns help establish the upper layer of the display. Their trunks also provide clear points around which we can arrange smaller plants.
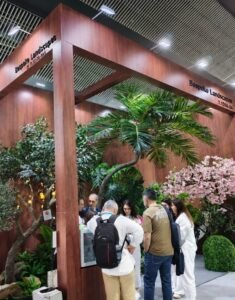
Our tall palm introduces a different outline. Its upright trunk draws the eye upward, and its spreading fronds contrast with the denser crowns nearby. We can use this difference when discussing a tropical or resort-style direction with a client.
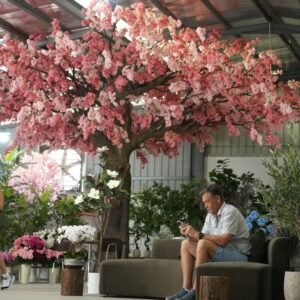
Our cherry blossom tree provides a softer pink focus. Our red and yellow-orange maple trees introduce stronger warm colours. We review their placement together because several colourful trees can compete for attention when their crowns overlap too heavily.
| Tree selection | Role in our display | What we review when matching it to a project |
|---|---|---|
| Banyan tree | We use its broad green crown to establish a large upper form. | We review canopy spread, trunk scale and the space below. |
| Tall palm tree | We use its height and frond shape to vary the skyline. | We review ceiling clearance and the spread of the fronds. |
| Cherry blossom tree | We use its pink flowers as a distinct visual focus. | We review flower colour, crown density and viewing position. |
| Red maple tree | We use its strong colour to create a prominent accent. | We review how much red the overall scheme needs. |
| Yellow-orange maple tree | We use its warmer tones to introduce another colour grouping. | We review its relationship with nearby green and coloured foliage. |
We match the display to the client’s intended setting
We call this our North America showroom zone, but we present it as a collection of design possibilities. We do not treat the whole display as a reproduction of one natural plant community.
When we discuss custom artificial landscape solutions, we start with the client’s space and preferred style. We ask for dimensions, photographs and layout drawings. We also discuss the main viewing directions and the areas that need to remain open.
Our custom artificial trees give us options for adjusting the main forms before we select the supporting greenery.
Building Ground Contours and Defining Planting Areas
We can place a convincing tree on a bare floor and still leave it looking separate from the scene. An abrupt base weakens the connection between tree and landscape.
We built shaped ground bases around the main trees, developed irregular planting boundaries and added green surface cover. This gave us a foundation for arranging smaller plants and creating a gradual transition between the tree bases, planting beds and surrounding floor.
We develop the ground around the main trees
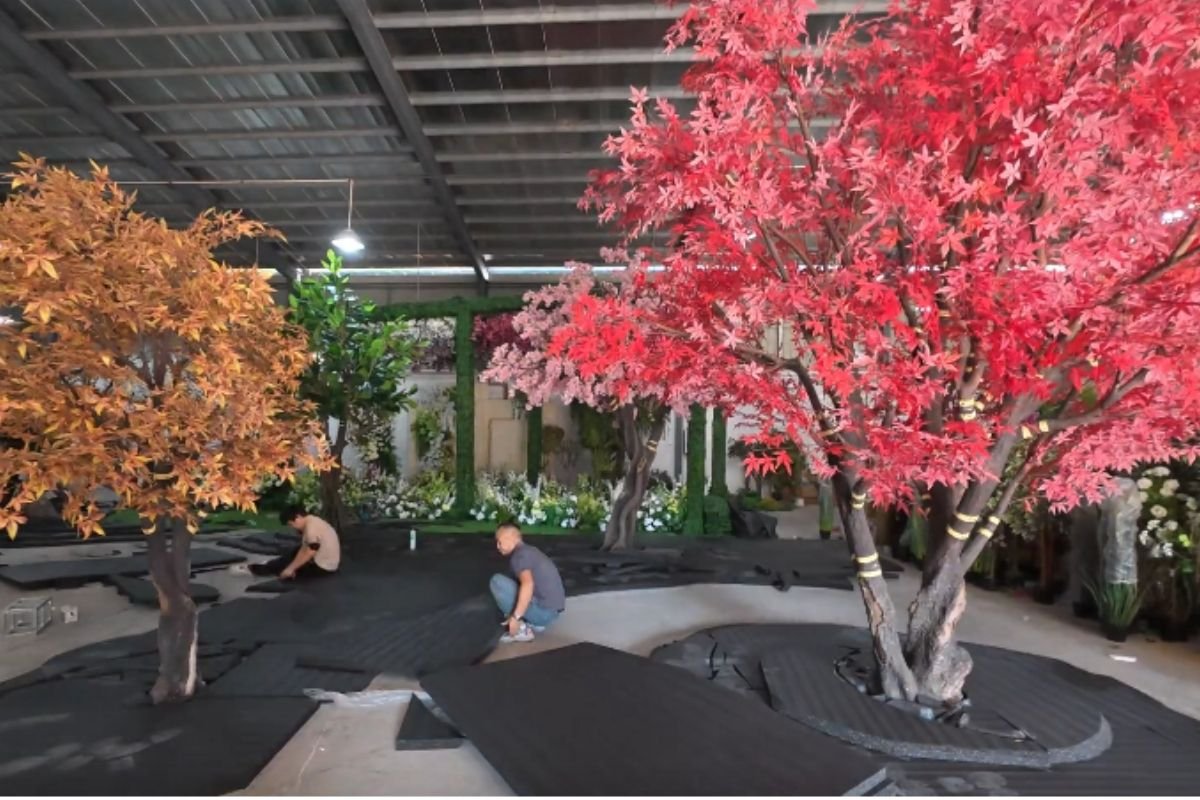
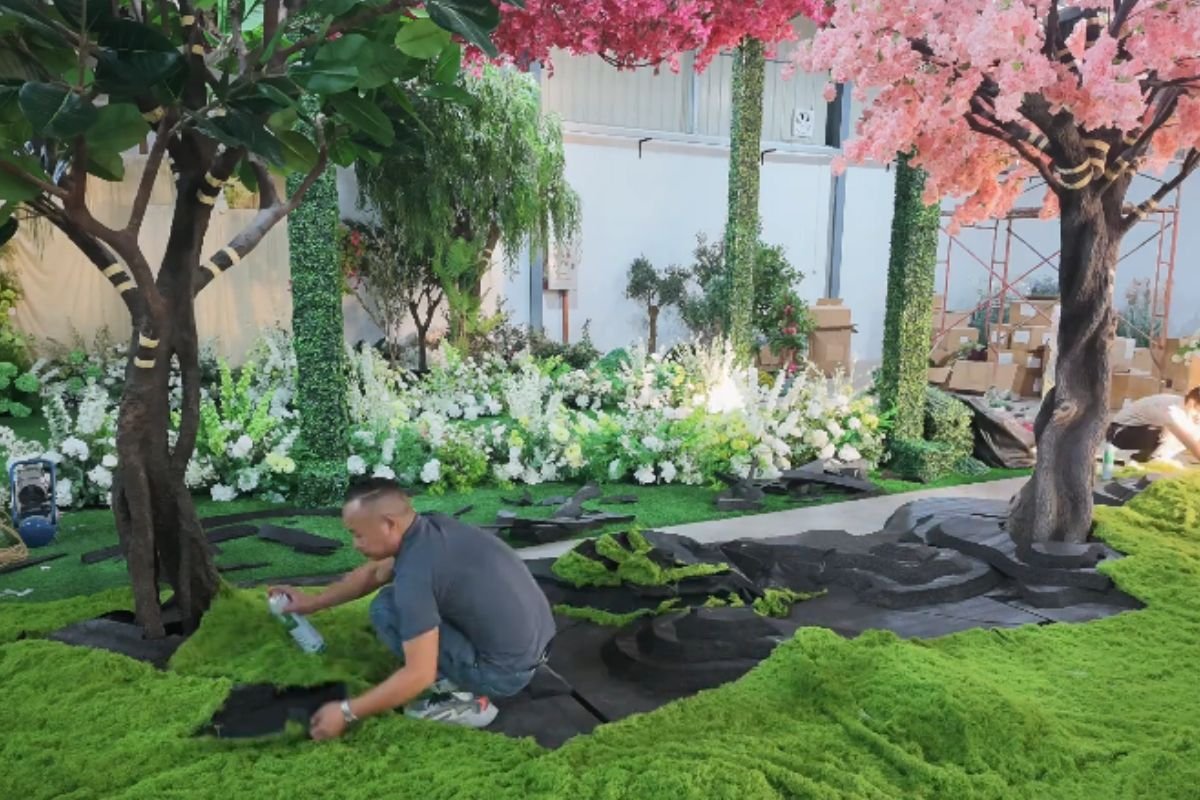
Our progress photographs show the trees in position while our team assembles the dark ground bases around them. The pieces form wider planting footprints and local changes in height.
We use these ground forms to develop the space beneath the trees. We can raise some planting positions, extend a bed outward or soften an outline with smaller plants.
We also review the relationship between neighbouring beds. Separate circles around every trunk would give a different result from a connected planting area. In this display, we explored broader, irregular outlines that could carry groups of plants between the larger trees.
We use the planting edges to organise the space
We consider both the planted area and the open floor beside it. A larger planting bed gives us more room for layers, but it also reduces the space available for circulation.
We review those choices together. We want visitors to see the combinations clearly and move between the displays. For a client project, we would coordinate the planting footprint with the project team’s circulation and access requirements.
We then lay the green surface cover over the ground forms. Our installation photographs show this work in progress, with some areas covered and others still exposed.
| Ground element | How we use it | What we check |
|---|---|---|
| Raised sections | We create changes in planting height. | We check how they affect the view of nearby plants. |
| Wider areas around trunks | We provide room for supporting greenery. | We check the proportion between the tree and its bed. |
| Irregular boundaries | We vary the outline of the planting. | We check the transition into the open floor. |
| Green surface cover | We connect the visible ground between plant groups. | We check exposed gaps, edges and changes in height. |
We build a base for the next planting stage
We do not expect ground cover alone to complete the scene. We use it as a continuous background for the larger leaves, upright foliage and low plants that follow.
We also review the tree bases as we add those layers. We can soften a visible transition with planting, but we still need to retain access where the installation requires it.
Matching Plants by Height, Leaf Shape and Colour
We can fill a bed with greenery and still produce a flat result. If every plant has the same height and leaf texture, the individual products become difficult to distinguish.
We matched the supporting plants by their role within the scene. We used taller foliage for intermediate height, broad leaves for clear shapes, finer foliage for contrast, and low plants for ground-level transitions. We also repeated selected colours and textures to connect neighbouring groups.
We connect the upper canopy to the ground
We give the smaller plants as much attention as the large trees. A tall trunk and a low green surface can leave a large visual gap. We use intermediate plants to bridge that distance.
Our areca palms and other palm-like foliage introduce upright and arching forms. We position these plants where their fronds can spread and remain visible. We review their height against the nearby trunks so that they support the main tree without hiding all its character.
Our broad-leaved plants create stronger shapes within the finer greenery. We use monstera leaves where their split outlines can be seen. We consider traveller’s palm forms where a taller, fan-shaped arrangement suits the available space.
We use ferns and smaller foliage around the lower layer. Their finer leaves help us move between larger plants and the green ground surface.
| Plant group | Role we can give it | Matching detail we review |
|---|---|---|
| Areca palms | We use them to develop the middle layer. | We review frond spread, height and overlap. |
| Other palm foliage | We use different leaf outlines to vary the composition. | We review whether the leaves remain distinct nearby. |
| Monstera | We use its broad, split leaves as a local focus. | We review leaf direction and visibility. |
| Traveller’s palm | We use its taller fan-shaped form where space allows. | We review width and the intended viewing side. |
| Ferns | We use fine foliage to soften lower transitions. | We review their visibility beneath larger leaves. |
| Foliage bushes and bundles | We use them to join groups and adjust local density. | We review gaps, exposed pots and repeated textures. |
We change the lower planting to suit the main tree
We do not use the same mix beneath every tree. Our maple planting offers a useful example.
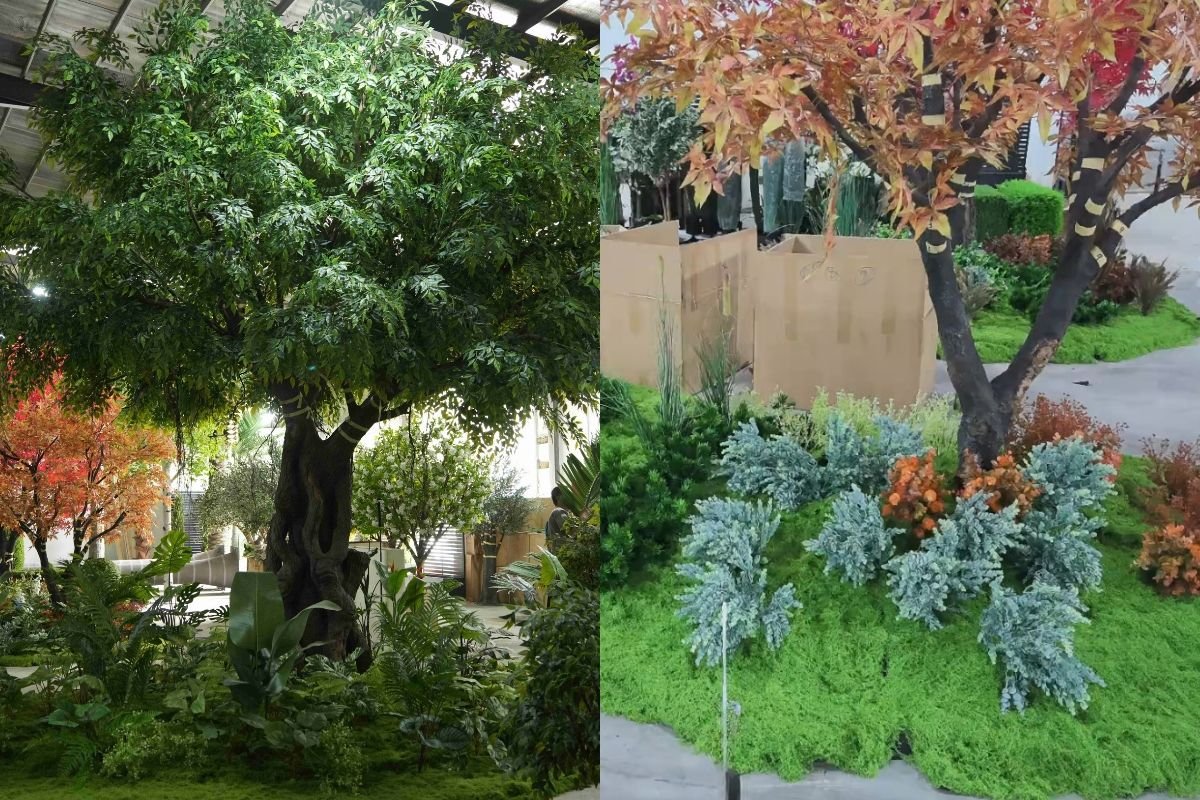
In the progress image, the yellow-orange maple stands above groups of silver-grey, dark green and orange-brown foliage. We can read the warm colour at both canopy and ground level. We can also distinguish the pale foliage against the darker green plants.
We use these relationships when matching products. We may repeat a colour from the main tree in a few lower groups. We may also introduce a different leaf tone so that the bed does not become one continuous colour.
Under the banyan, we give more attention to green leaf shapes. We combine broad leaves, arching palm foliage and finer fern textures. We use the differences in shape to keep the planting varied within a largely green palette.
We use repetition with a purpose
We repeat selected foliage across the display to help neighbouring groups feel connected. We then vary height, direction or colour to keep each area distinct.
We also check the role of each added bundle. We use some to fill a specific opening and others to soften an edge. We stop adding material when it begins to hide the shapes we want visitors to see.
Refining the Landscape Through On-Site Adjustments
We cannot judge a full planting arrangement from individual product photographs. A suitable plant can still look misplaced when its leaves face away or crowd a neighbouring feature.
We review the assembled landscape from several positions and adjust plant direction, spacing, grouping and density. We use these checks to reveal important leaf shapes, balance the lower planting and improve the transitions between the main trees and surrounding greenery.
We review more than one camera angle
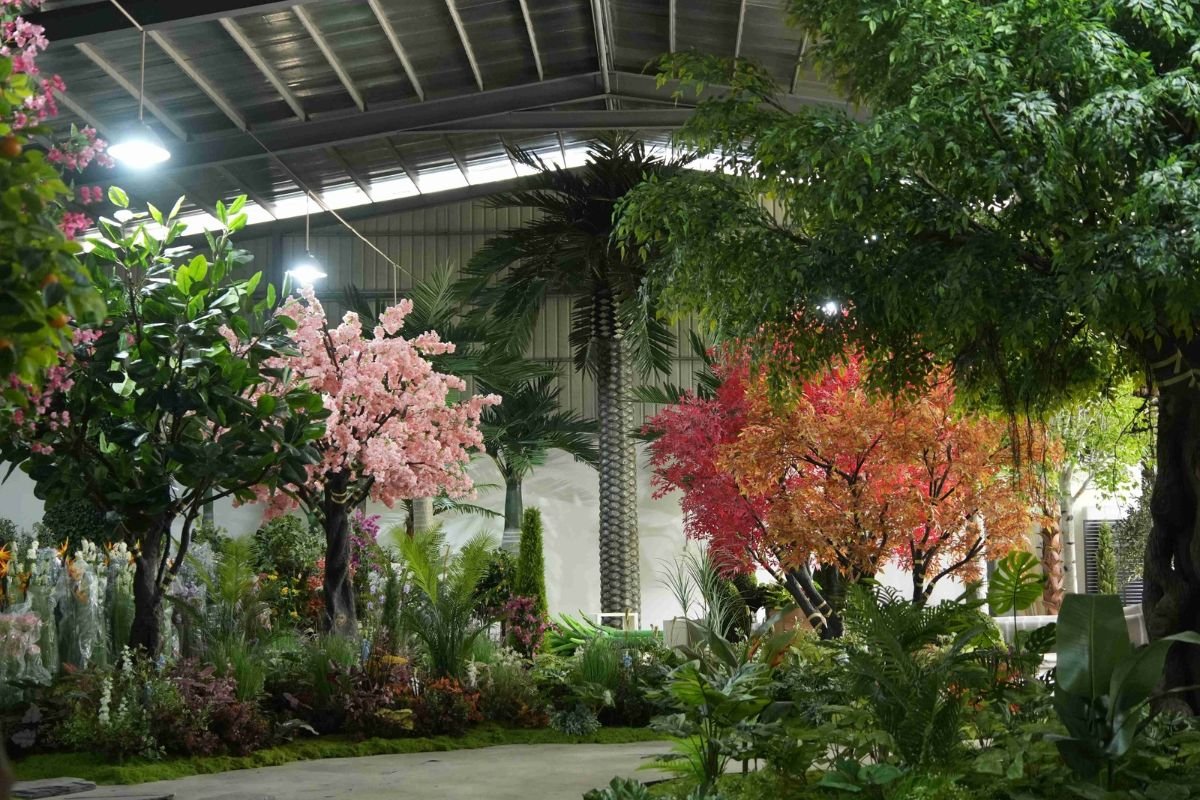
We inspect the scene from the main approach, from beside the planting and from closer viewing positions. Our three wider photographs reveal different parts of the same display.
From one angle, we see a large tree framed by foreground greenery. From another, we see the palm, cherry blossom and maple crowns together. A closer view shows how the lower plants sit around the banyan trunk.
We use those different views to identify what needs attention. A plant may look clear from the front but disappear behind another leaf from the side. We can turn it, move it or reduce the overlap.
We also check whether the foreground blocks too much of the scene. We want depth, but we still need the main forms to remain readable.
We make product matching a practical discussion
We use the showroom to help clients compare complete combinations. We can discuss a tree together with the plants beneath it, rather than ask the client to imagine the result from separate catalogue images.
For a North American hotel, restaurant or retail project, we would review the site information before proposing a selection. We would match the tree scale, planting footprint and visual style to that brief.
| Information we request | How we use it |
|---|---|
| Site dimensions and ceiling height | We assess tree height, canopy spread and planting volume. |
| Floor plan and viewing directions | We assess placement, visible sides and open areas. |
| Reference images | We clarify the preferred density, colour and overall style. |
| Indoor or outdoor location | We review suitable product configurations for the environment. |
| Required fire or UV documentation | We review the relevant options and supporting documents for the selected products. |
We turn feedback into specific changes
We use full views for discussions about the overall composition. We use close-ups for leaf finishes, branch connections and planting edges.
We ask clients to identify the area they want changed. We can then discuss a wider canopy, a lower foreground, fewer warm colours or a different leaf mix.
We also distinguish installation photographs from presentation images. Our progress records may show packaging, exposed bases and temporary ties. We use those records to explain the work, and we review the finished presentation separately.
We welcome site photographs and drawings through our project enquiry page. We can use them to begin a focused discussion about commercial artificial greenery and the combinations that suit the space.
Conclusion
We built this showroom landscape through coordinated tree selection, ground shaping and detailed plant matching. We use the same design questions to develop combinations for our clients’ commercial spaces.