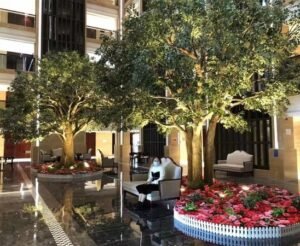
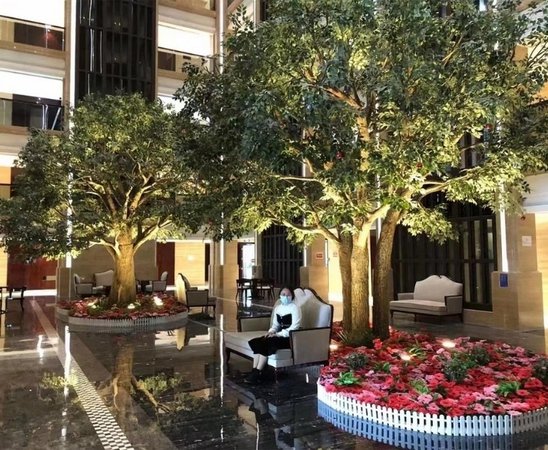
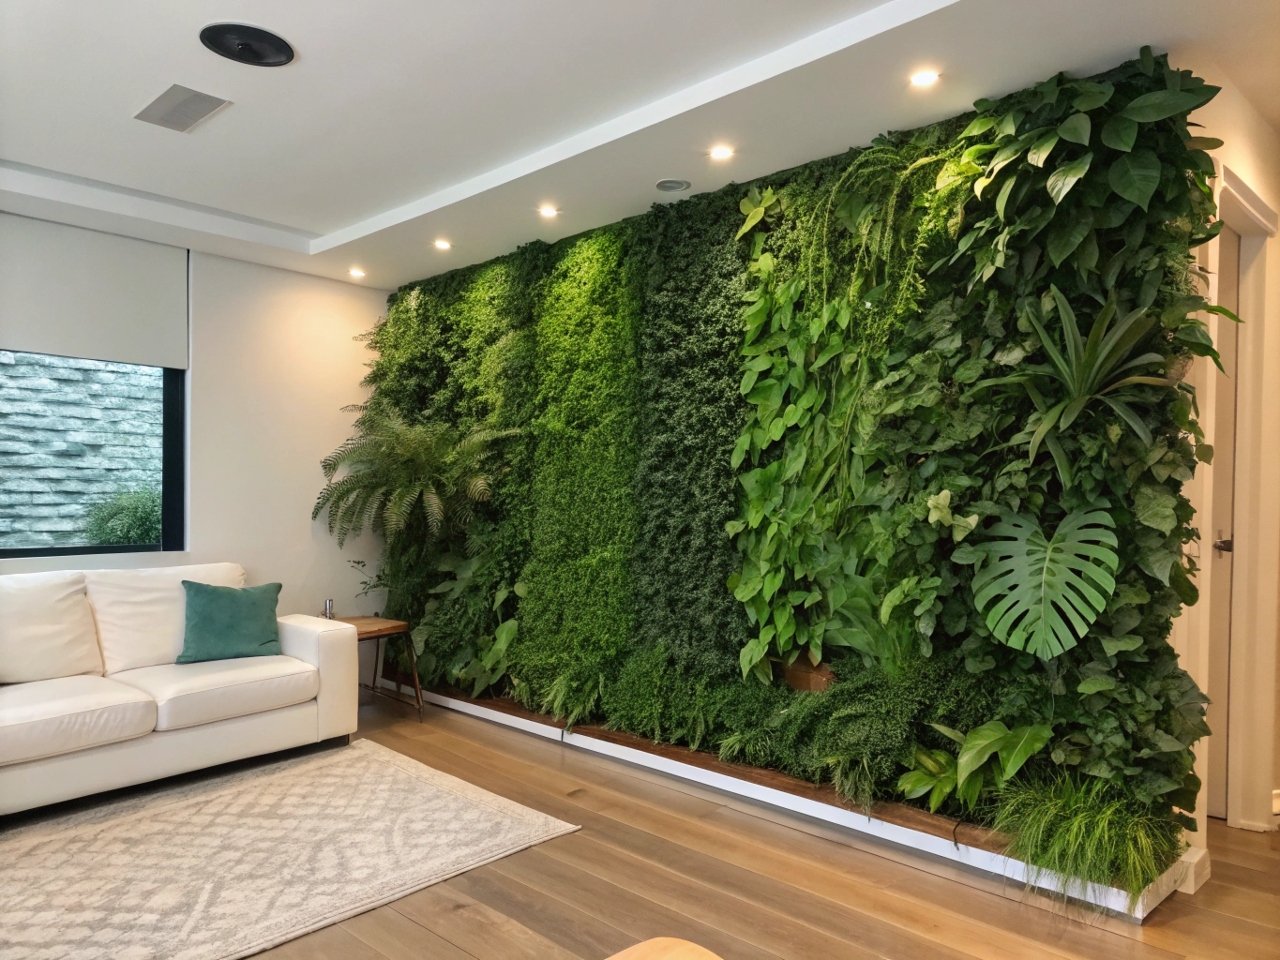
Many people want a vibrant green space in their homes. But real plants need constant care. Artificial plant walls solve this problem, saving time and effort.
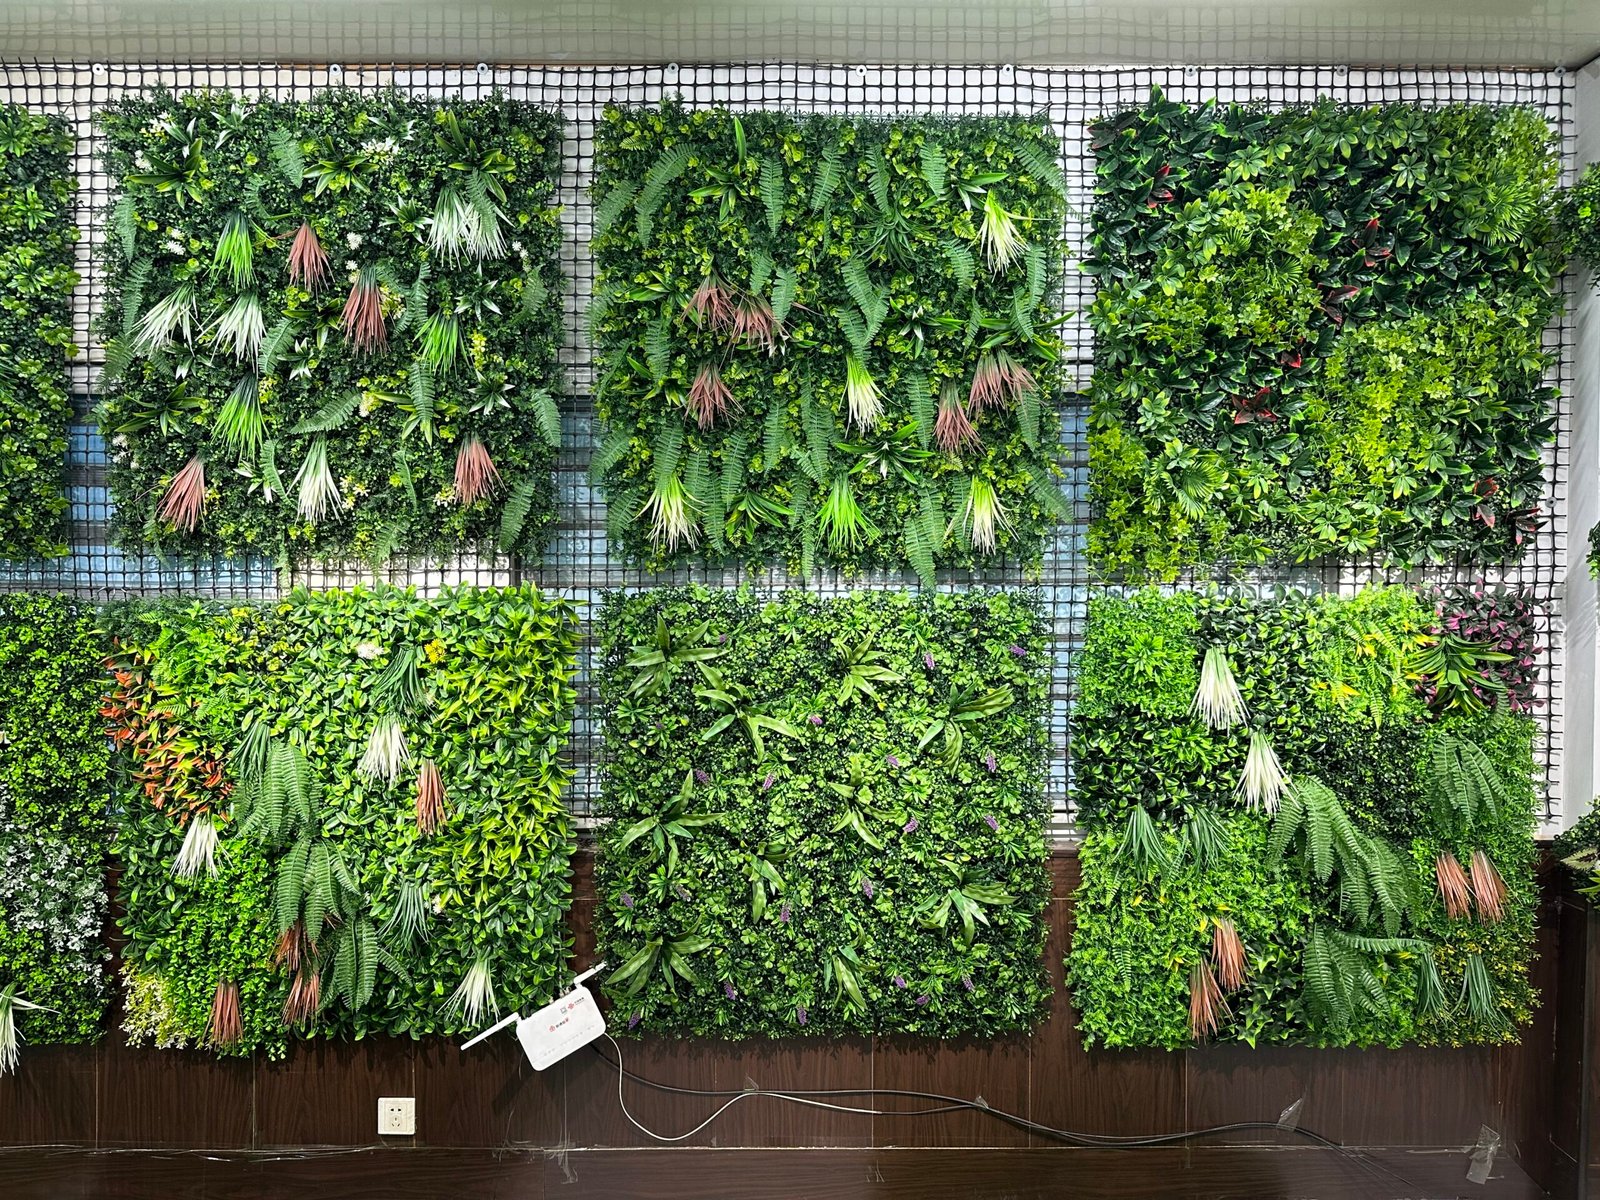
Installing an artificial plant wall is simple. First, prepare a stable surface and gather basic tools. Then, install panels row by row. Secure them firmly and check for alignment. Finally, double-check stability and make final touches for a neat finish.
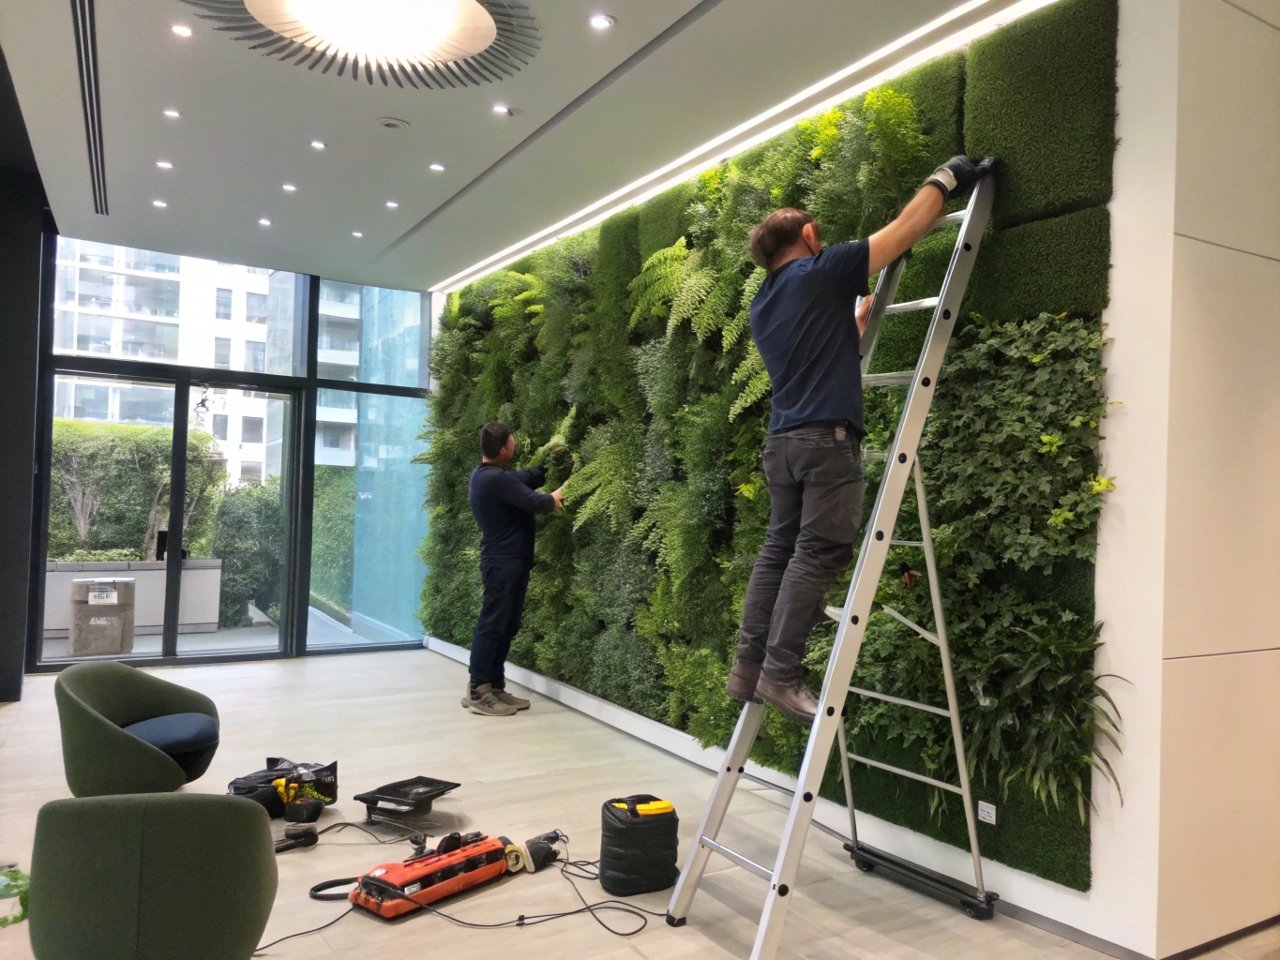
I learned this process from my personal experience transforming my rooftop. I remember the day I decided to switch from living vines to artificial greenery. I wanted a hassle-free solution with consistent beauty. My father also encouraged me to save time on daily watering. By following these steps, you can install your own artificial plant wall without stress. Next, I will discuss the essential tools, how to secure everything, and how to maintain a fresh look. Stay with me to get every detail you need to feel confident about your final setup.
Choosing the Right Tools for Installing Artificial Plant Walls?
Many installations fail due to missing or incorrect tools. This problem can be frustrating and costly. The right tools fix mistakes and make the job quicker.
You need sturdy basics. A reliable drill, screws, and a level are essential. A measuring tape helps precise placement. Protective gear like gloves or goggles also matters. With these items, the process becomes simpler and safer.
Understanding Basic Equipment
I always keep a high-quality drill in my workshop because it saves time and ensures precise holes. A lower-end model can lead to uneven placements or poor results. I also rely on a sturdy level. That small bubble gauge shows if each panel is aligned correctly. I remember installing my first panel without a level, and the final row slanted. The measuring tape keeps me organized, so I do not guess or risk crooked lines. It is amazing how one small detail, like not measuring properly, can delay an entire day of work.
Additional Safety Items
Gloves protect my hands from sharp edges on artificial panels. Goggles prevent dust or small debris from getting into my eyes. Once, I got a tiny splinter from a plastic edge. That painful moment taught me to never skip protective gear. Screws and anchors are next on my list. If you install into drywall, you need anchors to secure each panel. If you have concrete or brick, use specialized drill bits and appropriate fasteners for a solid hold.
My Toolbox Setup
Here is a simple table showing my essential items:
| Tool | Primary Purpose | Why Important |
|---|---|---|
| Drill | Create holes for screws and anchors | Faster, consistent drilling for secure attachments |
| Level | Check panel alignment | Ensures panels do not tilt or shift |
| Measuring Tape | Determine exact dimensions | Avoids uneven panel placement and wasted materials |
| Gloves | Protect hands from sharp edges | Reduces cuts or injuries during installation |
| Goggles | Shield eyes from debris | Prevents small particles from harming your eyesight |
Having the right items in place helps me avoid frustration later. I find that planning makes installation smooth, especially when juggling multiple panels. I prefer over-preparing instead of pausing halfway to buy more supplies.
How to Secure Your Plant Wall Safely and Effectively?
Many people fear their artificial plant wall might fall or loosen. This issue causes worry and leads to unstable displays. Effective fastening eliminates stress and protects walls.
Always connect each panel to wall studs or use proper anchors. Make sure screws or adhesives meet weight requirements. Double-check for hidden wiring or pipes. Then fasten panels slowly, ensuring they line up before final tightening.
Planning the Attachment Points
Before I secure each panel, I mark the wall studs or structural beams with a pencil. I also use a stud finder to avoid guesses. If the arrangement aligns with those studs, the hold is stronger. In places without studs, I rely on heavy-duty anchors. This approach helps each section support its own weight, minimizing stress on single points. I remember a friend who forgot to mark studs. Some panels eventually sagged, and he had to redo the entire job.
Selecting Appropriate Fasteners
Sometimes, adhesives or Velcro strips are tempting for smaller accent walls. However, they might not handle heavier panels for the long term. I prefer screws with washers, which distribute the panel’s weight and reduce stress on one spot. If you install your panels outdoors, consider using weather-resistant hardware. Rust can weaken the grip over time. Look for stainless steel or coated options that guard against moisture.
My Experience With Overhead Installations
I once decided to install an artificial plant wall on a patio ceiling. That project was tricky. I needed a ladder, extra safety gear, and a friend’s help for the final steps. Gravity works against you when installing overhead, so I used extra screws and heavy-duty anchors. After finishing, I tested each panel with a gentle pull. Everything stayed secure. Taking these precautions saved me from collapsed panels. A secure foundation gave me peace of mind and a stylish outdoor lounge. Now, I use the same careful approach on vertical walls because stability is my top concern.
Simple Maintenance Tips to Keep Your Artificial Plant Wall Looking Fresh?
Many worry their artificial plant walls might fade or become dull. Neglect leads to a tired look and reduces appeal. Basic maintenance keeps your display vibrant and lifelike.
Dust panels with a soft cloth or feather duster. Avoid harsh chemicals or water sprays. For outdoor walls, occasional rinsing is fine if recommended by the manufacturer. Always address stains or debris right away to keep that bright, fresh effect.
Daily Dusting and Quick Fixes
I prefer a daily or weekly dusting routine, depending on the environment. A simple feather duster or microfiber cloth can remove loose dirt. If I see any small stains, I use a mild cleaning solution specifically meant for artificial plants. Strong chemicals can strip protective coatings or change the texture. One time, I used a standard household cleaner on a batch of artificial leaves. The leaves lost their shine, and I had to replace them. Now, I test any product on a small, hidden section before applying it everywhere.
UV Protection and Color Retention
Some artificial panels come with built-in UV protection. This helps the panels resist fading when exposed to sunlight. If yours do not have this feature, you can apply a UV spray. I learned about it when I noticed sun-faded patches on my old rooftop installation. A friend told me about UV-protective sprays designed for plastic or silk foliage. These sprays create an invisible layer that slows fading. Applying it once or twice a year helps maintain the original shade of green.
My Routine Checklist
Here is my quick checklist:
- Inspect edges for loose corners or any damage.
- Dust lightly each week or more often in dusty areas.
- Wipe away stains quickly, using mild products.
- Check for color changes or fading if in direct sunlight.
- Reapply UV protection when necessary.
This routine keeps everything looking sharp, saves me money on replacements, and keeps my walls lush and appealing.
How Often Should You Clean and Dust Your Artificial Plant Wall?
Many people ask how frequently they should maintain artificial walls. Uncertainty leads to either neglect or excessive cleaning. A simple schedule ensures a balanced, long-lasting display.
Clean or dust your wall once or twice a week. If your environment is dusty, do it more often. Outdoor walls might need monthly checks for debris. Regular light maintenance is better than waiting for severe buildup.
Weekly and Monthly Routines
I usually wipe away surface dust every week. In a busy city apartment, dust can build up fast. For a larger commercial space, it might be necessary twice a week, especially in high-traffic areas. Once a month, I do a closer inspection. I look for any dislodged leaves, bent panels, or stains. This monthly check helps me catch problems before they become noticeable. If I find a bent corner, I quickly fix it or replace the piece if needed.
Seasonal Considerations
Different seasons affect how often I clean. In spring, windows are often open, letting in pollen and outdoor debris. I step up my cleaning schedule to twice a week during that time. In the fall, falling leaves might blow in if you have a patio or balcony. For those with outdoor installations, occasional rain might wash off some dust, but it can also leave water spots. In hot summers, I monitor for any discoloration from intense sunlight. If your area has winter salt or de-icing chemicals, you might find residue if your installation is near an entrance.
Tracking Results
I keep a small log of my cleaning routines. It helps me see if certain months require more attention. By noting dates and any issues I spot, I can adapt my schedule quickly. This practice helps me avoid sudden surprises, like a heavily dusted wall on a day I have guests. A consistent system ensures my artificial plant walls look fresh all year.
Conclusion
A thorough plan makes your artificial plant wall installation stress-free. Proper tools, strong attachments, and basic maintenance extend its life and keep it looking lively for years.